You have seen the look: layered torn paper, a documentary photograph lifting off the page, masking tape, handwritten notes, maps and stamps, one commanding headline. It feels like a campaign a world-class agency laboured over for weeks. The good news is that you can build it from a single idea, for any brand, in an afternoon. The secret is not one clever prompt, it is two working in sequence. Here is how.
1. What an editorial collage actually is
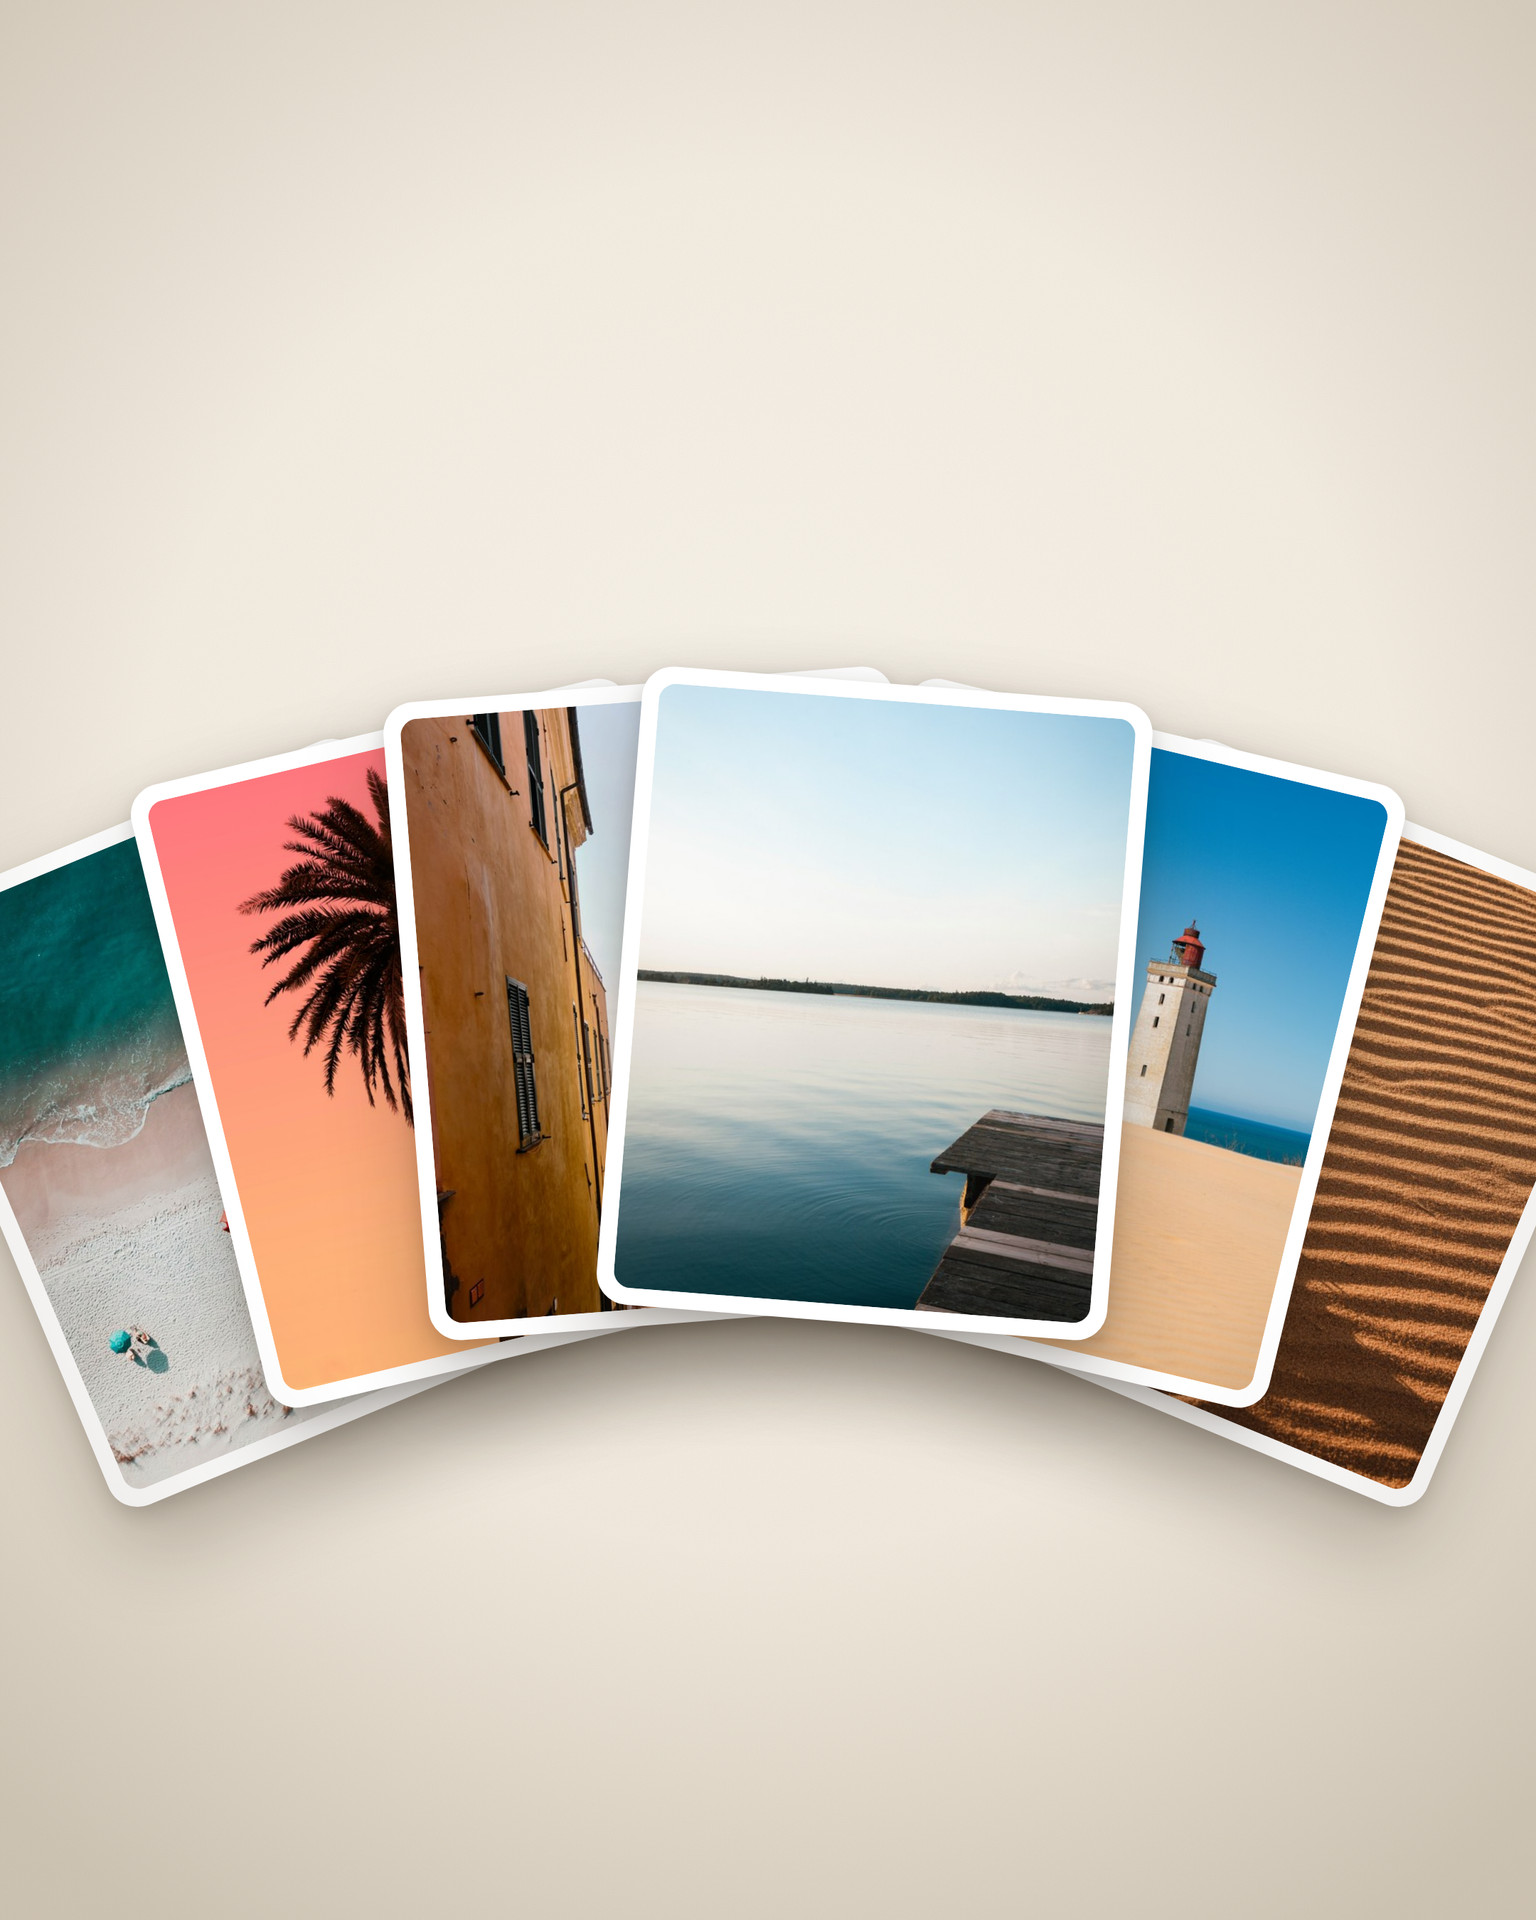
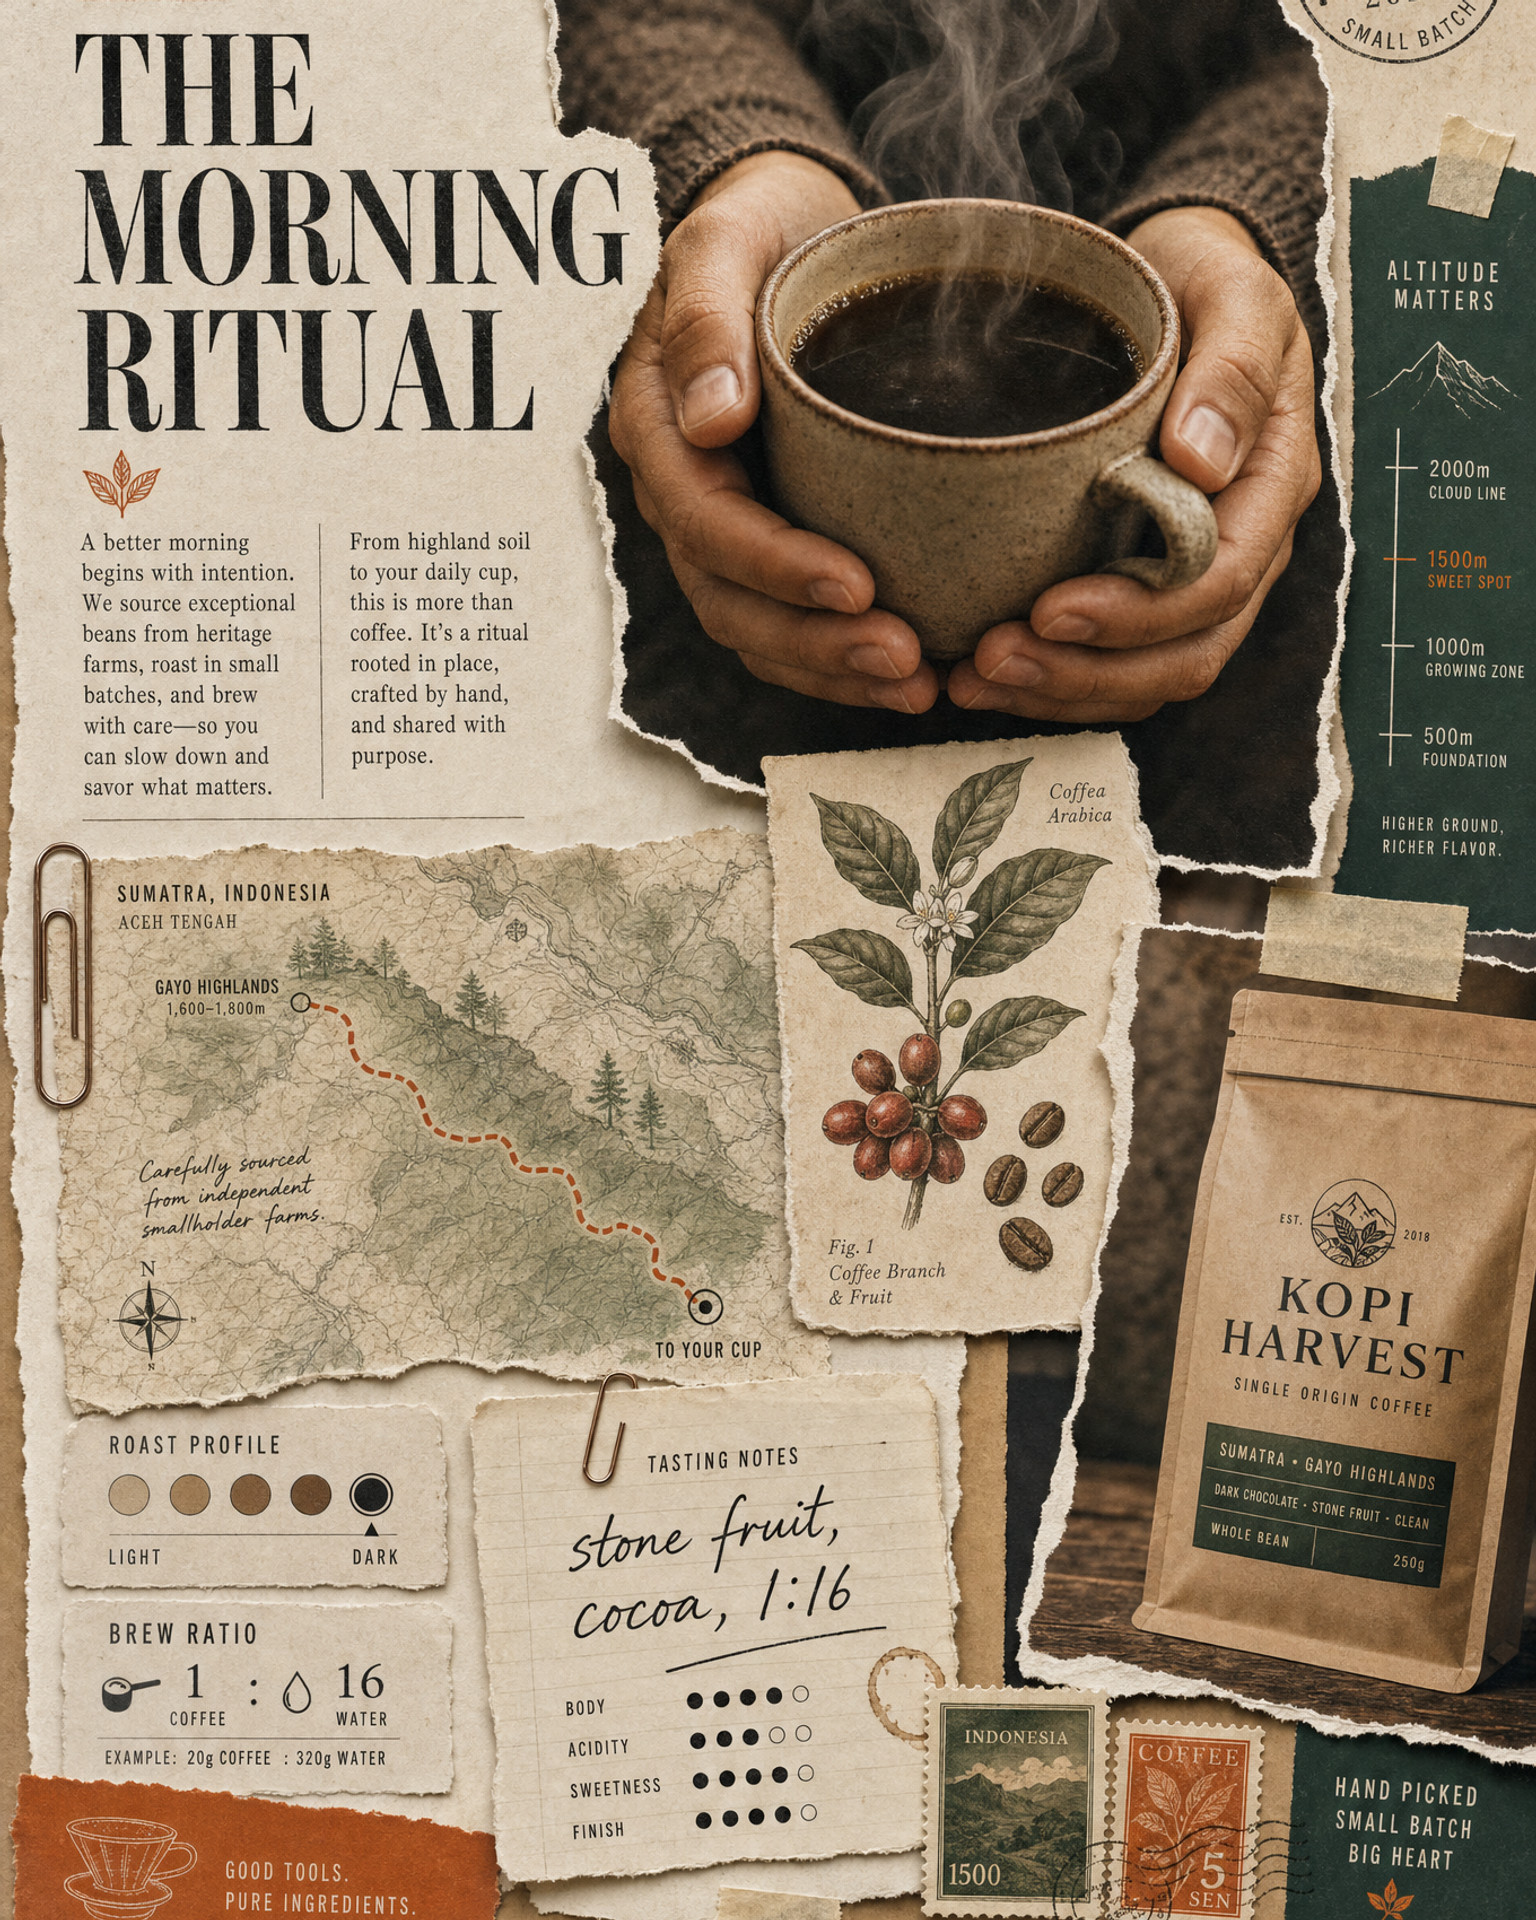
An editorial collage is a poster built like a magazine spread that someone assembled by hand: photographs, cut-outs, diagrams, tape, and type, all layered with real depth and a little mess. It stops the scroll because it looks made, not generated. Every piece earns its place around one clear hero and one clear message.
The style does the heavy lifting, so your job is to pick the strongest single idea and let the supporting pieces prove it. A scouting dossier for an athlete. An origin map for a coffee brand. A blueprint for a product. The collage is the argument, laid out as evidence.
2. The two-step workflow
This is the part people get wrong, so read it once carefully. You use two prompts, and each one is run inside a chat model like ChatGPT or Claude. The prompts do NOT make the image or video themselves. They WRITE you a prompt, which you then paste into the actual image or video tool.
- Step 1 makes the poster. Run the first template prompt in ChatGPT or Claude, give it your idea, and it hands you a finished image prompt. Paste that into GPT Image 2.
- Step 2 animates the poster. Upload your poster with the second template prompt, and it hands you a video brief written for that exact image. Paste that into a video model like Seedance.
That is the whole flow: idea to poster, poster to film. There is also an optional third template for people who would rather write the motion by hand, but most people only need the two.
3. Step 1, make the poster
The first prompt turns you into a creative director's brief writer. You give it a one-line concept (or a reference image you like), and it imagines the strongest visual interpretation, then writes a long, specific image prompt: the hero, the supporting cut-outs, the typography, the palette, the paper textures, the lighting.
Two things make the difference between a cheap result and a premium one:
Weak: "make a collage poster about my coffee brand"
Strong: the detailed prompt the template writes for you, naming one hero photograph, a handful of supporting pieces that genuinely fit coffee (an origin map, bean illustrations, brew-ratio notes), one accent colour, and real torn-paper textures
The template also keeps the type legible and correctly spelled, which is what separates a believable poster from one covered in AI gibberish.
4. Step 2, animate it, with the camera locked
The second prompt studies your finished poster and writes a video brief that builds the artwork from a blank canvas, one layer at a time, until it matches your poster exactly and then breathes quietly.
The one rule that matters: keep the camera LOCKED. Image-to-video models love to sneak in their own slow zoom or drift, and on a paper collage it always looks cheap. The template tells the model to hold the frame perfectly still and let the motion come from the elements, not the lens. A gentle push-in is offered only as an optional choice, never the default.
5. The build order that makes it feel handcrafted
A collage that assembles in a random order looks like a glitch. One that assembles in a logical order looks like a real pair of hands building it. The second template bakes in that order, working from the back of the collage forward and from foundation to detail:
- Background and paper ground first, the deepest layer.
- Big structural shapes and the headline type that anchor the layout.
- The hero subject, assembled from several pieces rather than appearing whole.
- Primary supporting pieces, then the smaller ephemera, labels and notes.
- Dependent items after their host: a caption after the photo it sits on, a route line after the map beneath it.
- Tape, stamps, shadows and highlights last, locking everything down, then the whole frame settles into gentle parallax.
6. Keep it honest and legible
Two guardrails the templates enforce, worth understanding so you keep them. First, keep all text short and real so the model spells it correctly, then add or fix any critical wording yourself afterwards. Second, never attach invented numbers, prices or claims to a real, named person, school, company or place. Keep names fictional or generic unless you are using figures you can stand behind. A poster that looks premium but states a made-up statistic about a real brand is a liability, not an asset.
One more practical note: a collage is at its sharpest as a still image. When you run it through a video model the fine type softens slightly, frame by frame. So treat the poster as your crisp hero asset and the animation as the scroll-stopping motion version, and you get the best of both.
7. Draft it with the templates
You do not write any of this from scratch. The two copy-paste template prompts, plus the optional write-your-own-motion template, are in the unlock below, ready for your own brand and your own concept.
Pick one strong idea, let the collage prove it, and keep the camera still. That is the whole method behind posters that look like an agency made them, from a single line of text.